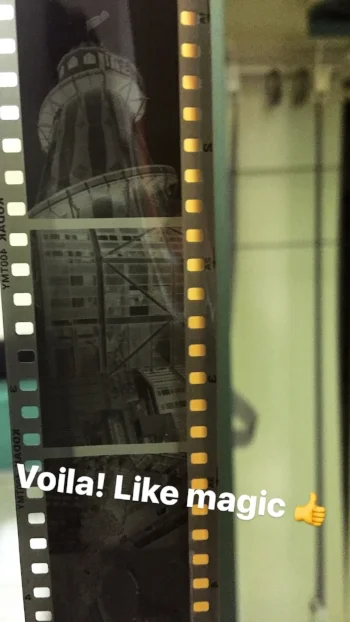
I started hand developing black and white film back in 1996 when film was the only option. How things have since changed! I haven't developed b&w film myself in years. That is, until I read about developing film with instant coffee instead of traditional film developer like Kodak's XTOL.
Recently, I decided to give it a try with the help of this book.
Step #1
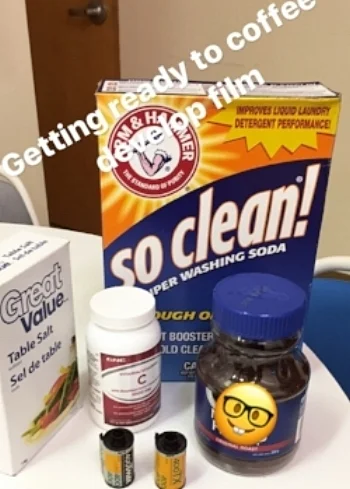
Gather your ingredients:
- 40 g Instant coffee
- 16g Vitamin C powder
- 54 g Washing soda
- 10g iodized salt (optional but can help with reducing fogging in high-speed film)
- fixer
- Washing solution
- Hypoclear (optional)
- 1 litre of room temperature water
- film developing tank with reels
Step #2
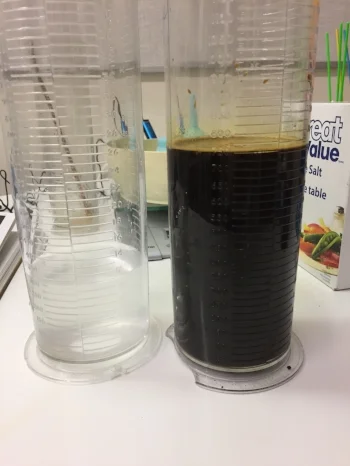
Make two separate solutions:
Solution 1: mix washing soda with 300 ml of water.
Solution 2: mix vitamin c powder, coffee, and salt with 700 ml of water.
Combine the two mixtures.
This is enough solution for 2 rolls of film. This solutions CANNOT be reused.
Step #3
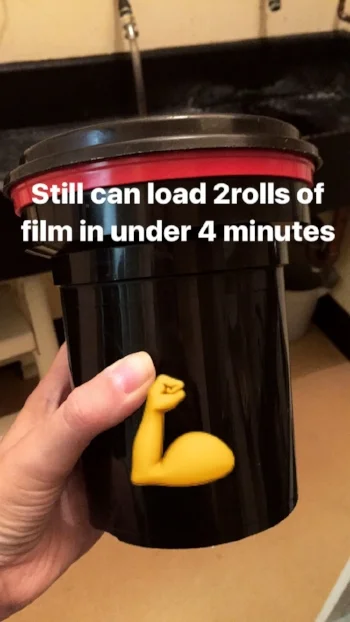
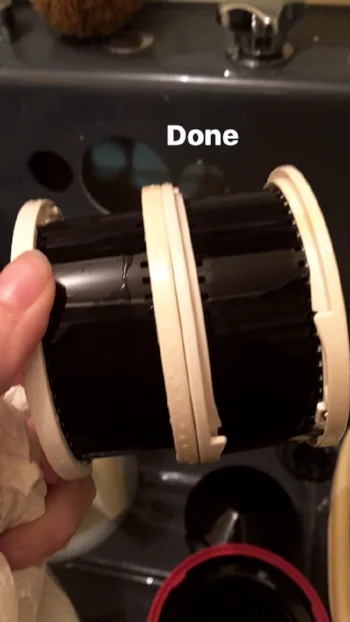
Load film while in completely darkness onto reels. Place reels in developing container and secure with lids. You can now process your film in a light-filled room.
Step #4
Now pour the coffee solution into the film container. Tap the container a couple of times on the counter to dislodge bubbles. Gently agitate the tank for the first 30 seconds. Repeat 5 second agitation every 30 seconds. I let my film develop in the solution for 12 minutes (different instructions have development time ranging from 12-15 minutes. I found that 12 minutes seem to work for me).
Step #5
After you are done developing the film, pour the coffee solution down the drain. Wash your film while in the container for a couple of minutes (you still can't expose your film to light so make sure it's still secure in its light-proof container).
Step #6
Now it's time to fix. Mix your fixing solution (fixer) according to directions on the solution packaging if you have using new fixing solution. Pour the solution into the film container and agitate continuously for 30 seconds.
If you are using new fixing solution, fix the film for two minutes. If you are using previously used solution (fixer can be reused until it's too exhausted and will no longer fix your film) then test the fixer using the film leader you cut while loading your film onto the reel. However long it takes the leader to become clear, double that time and that's how long you should fix your film.
Fixer is a very nasty chemical. Don't get it on yourself. If you do, please wash immediately. Don't pour fixer down the sink. Fixer, providing it's not too exhausted from film development, can be reused.
Now your film can be exposed to light!
Fixer desensitizes film to light and it hardens the film's emulsion.
Step #6
You now have two options after you pour the fixer out of your film container.
Option A: You can use Hypoclear. Remember that fixer is nasty and Hypoclear helps to get fixer off your film so you can cut down on your washing time. If you use this method, after pouring the fixer out of the container, rise your film with water for 30 seconds, then pour in the Hypoclear. Wash your film with Hypoclear for 2 minutes. Now pour the Hypoclear back into its container. Wash your film with water for 5 minutes.
Option B: Don't worry if you don't have Hypoclear. You'll just need to wash your film in water for a longer amount of time. Wash your film with water for a good 15 minutes.
Step #7
It's now time to rinse your film with either PhotoFlo or gentle dish soap. This helps to remove water stains. Thirty seconds in this solution should be sufficient.
Step #8
Now hang your film up to dry in a dust-free environment where it won't be disturbed for at least 24 hours.
You are now done and ready to print!

